Getting Set Up
Work through these four steps to prepare your account and team before bringing a Clyr Controller online.
Follow each milestone in order so that the right people have access to the Clyr platform and your first pool is ready for commissioning as soon as the controller arrives on site.
Step 1: Download the app
Install the Clyr Mobile app on the devices you and your team will use in the field.
- iOS App Store - search for "Clyr Mobile" and tap Download.
- Google Play - install the app so Android users can sign in on day one.
Step 2: Create your account
You can sign up inside the mobile app or visit https://app.clyrpool.com and select Don't have an account? Click here to get started.
DIYs: Choose Pool Owner when creating your account to unlock the homeowner experience.
Pool companies: Select Team so you can manage multiple pools and invite your staff.
Step 3: Create your first location
After you sign in, the app prompts you to create a location for the first pool that will receive a Clyr Controller. Add the property details, primary contacts, and any notes that help technicians when they arrive on site.
Step 4: (Teams only) Invite your team
Teams can invite additional admins and technicians from the web portal at https://app.clyrpool.com. This ensures every pool and crew member is linked to your company account.
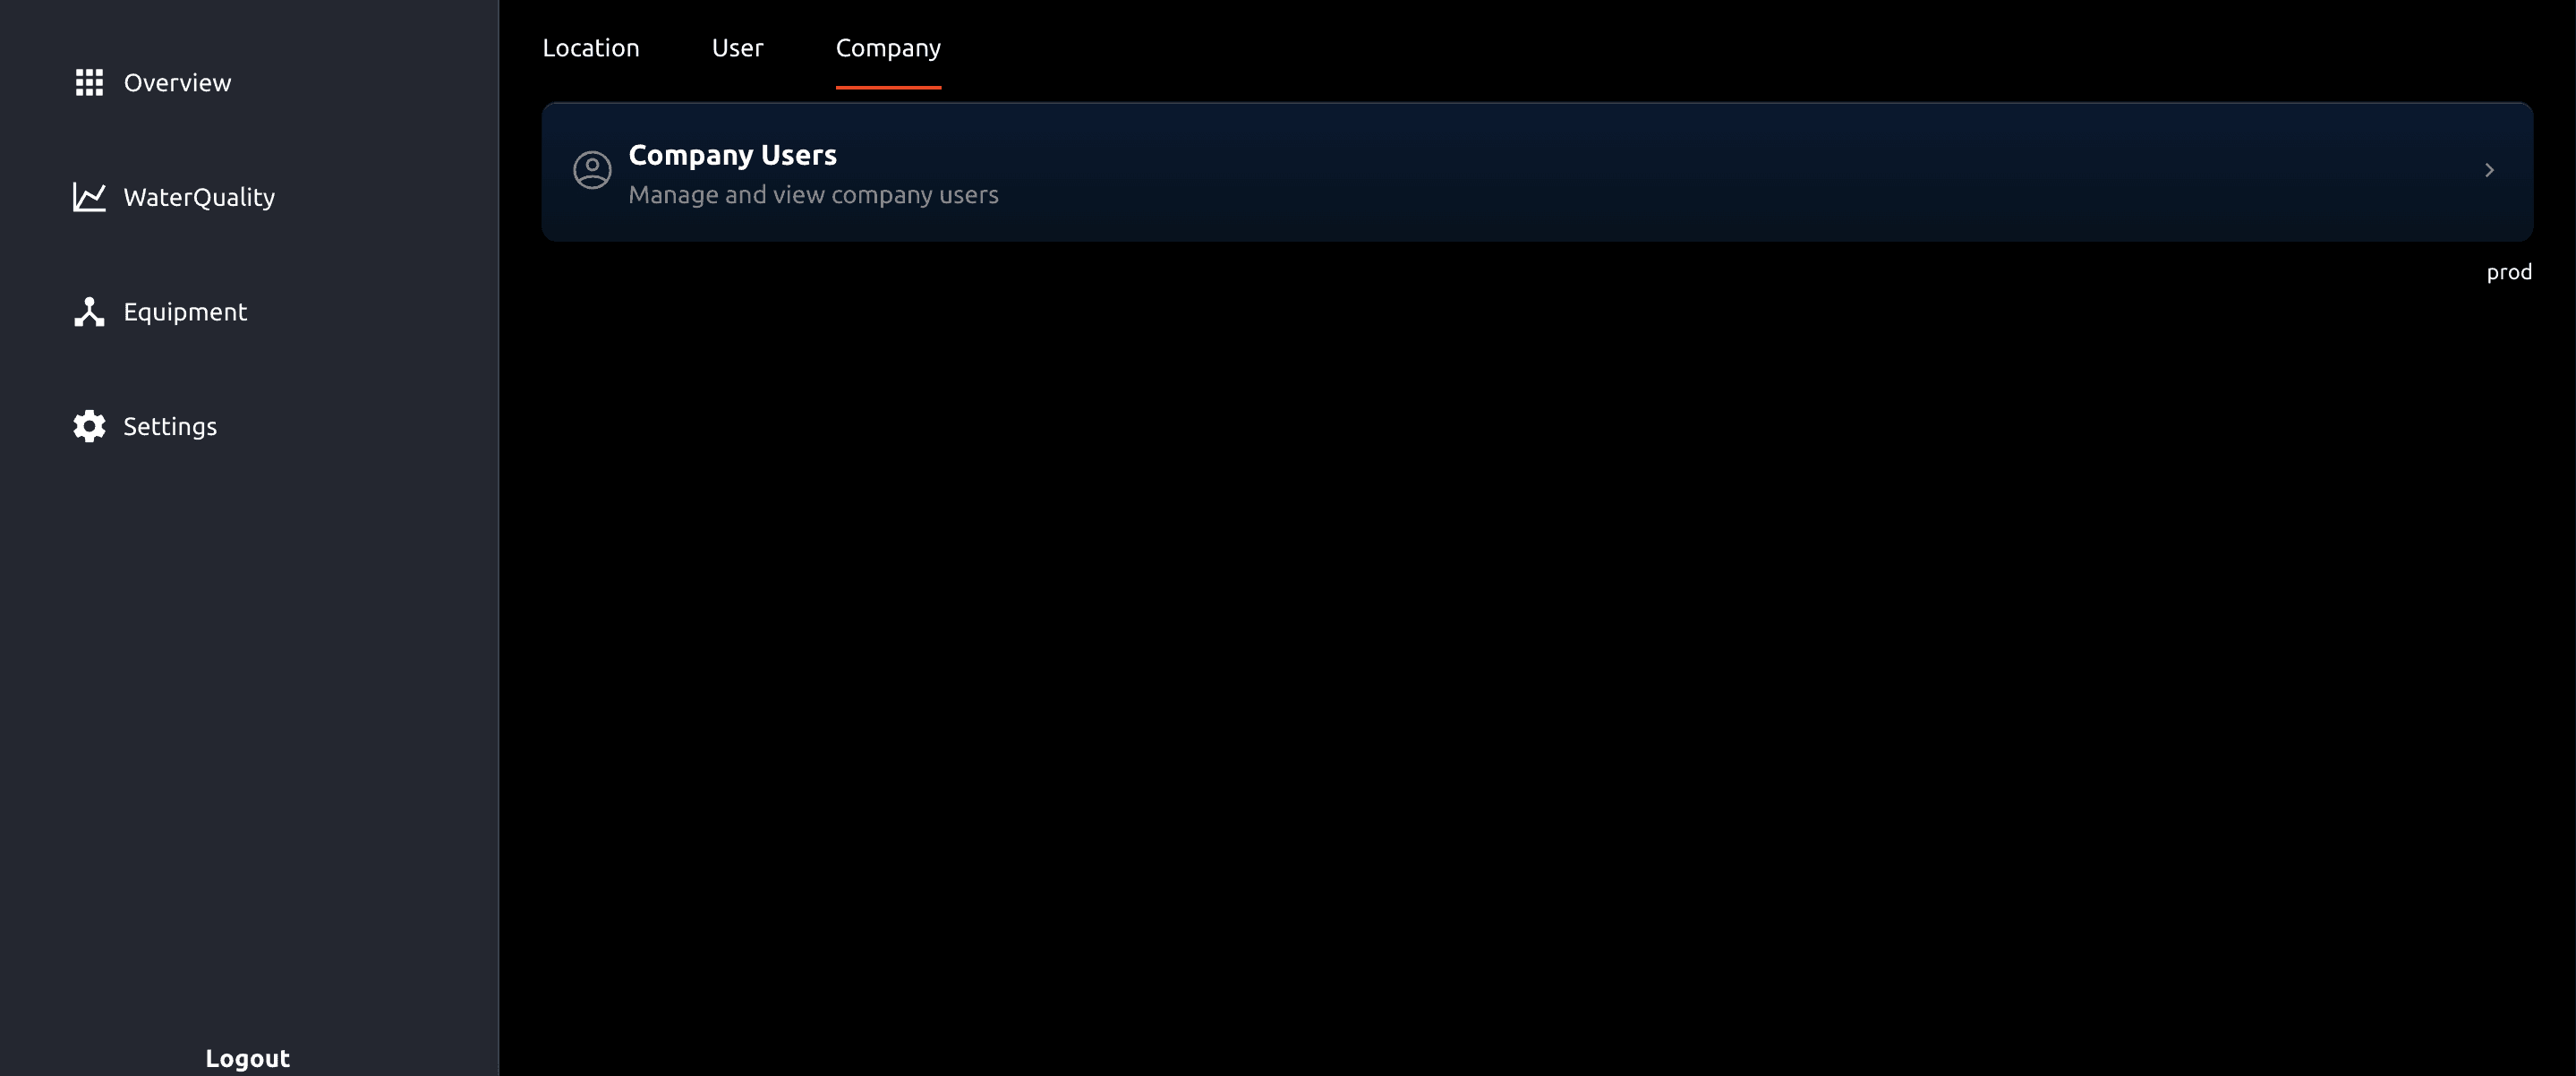
Once logged in, open Settings, choose the Company tab, then use the invite fields to add your teammates.
Repeat the invite process for each technician so they can log into the mobile app with their own credentials.