Pentair WhisperFlo Pump Installation
Connect a Pentair WhisperFlo VST pump to the Clyr Controller, configure it to emulate an Intelliflo, and finish setup inside the Clyr app.
Risk of electrocution and shock. Before proceeding with this tutorial, consult a certified electrician if you are uncomfortable working around energized pool equipment because the process involves potentially high voltage.
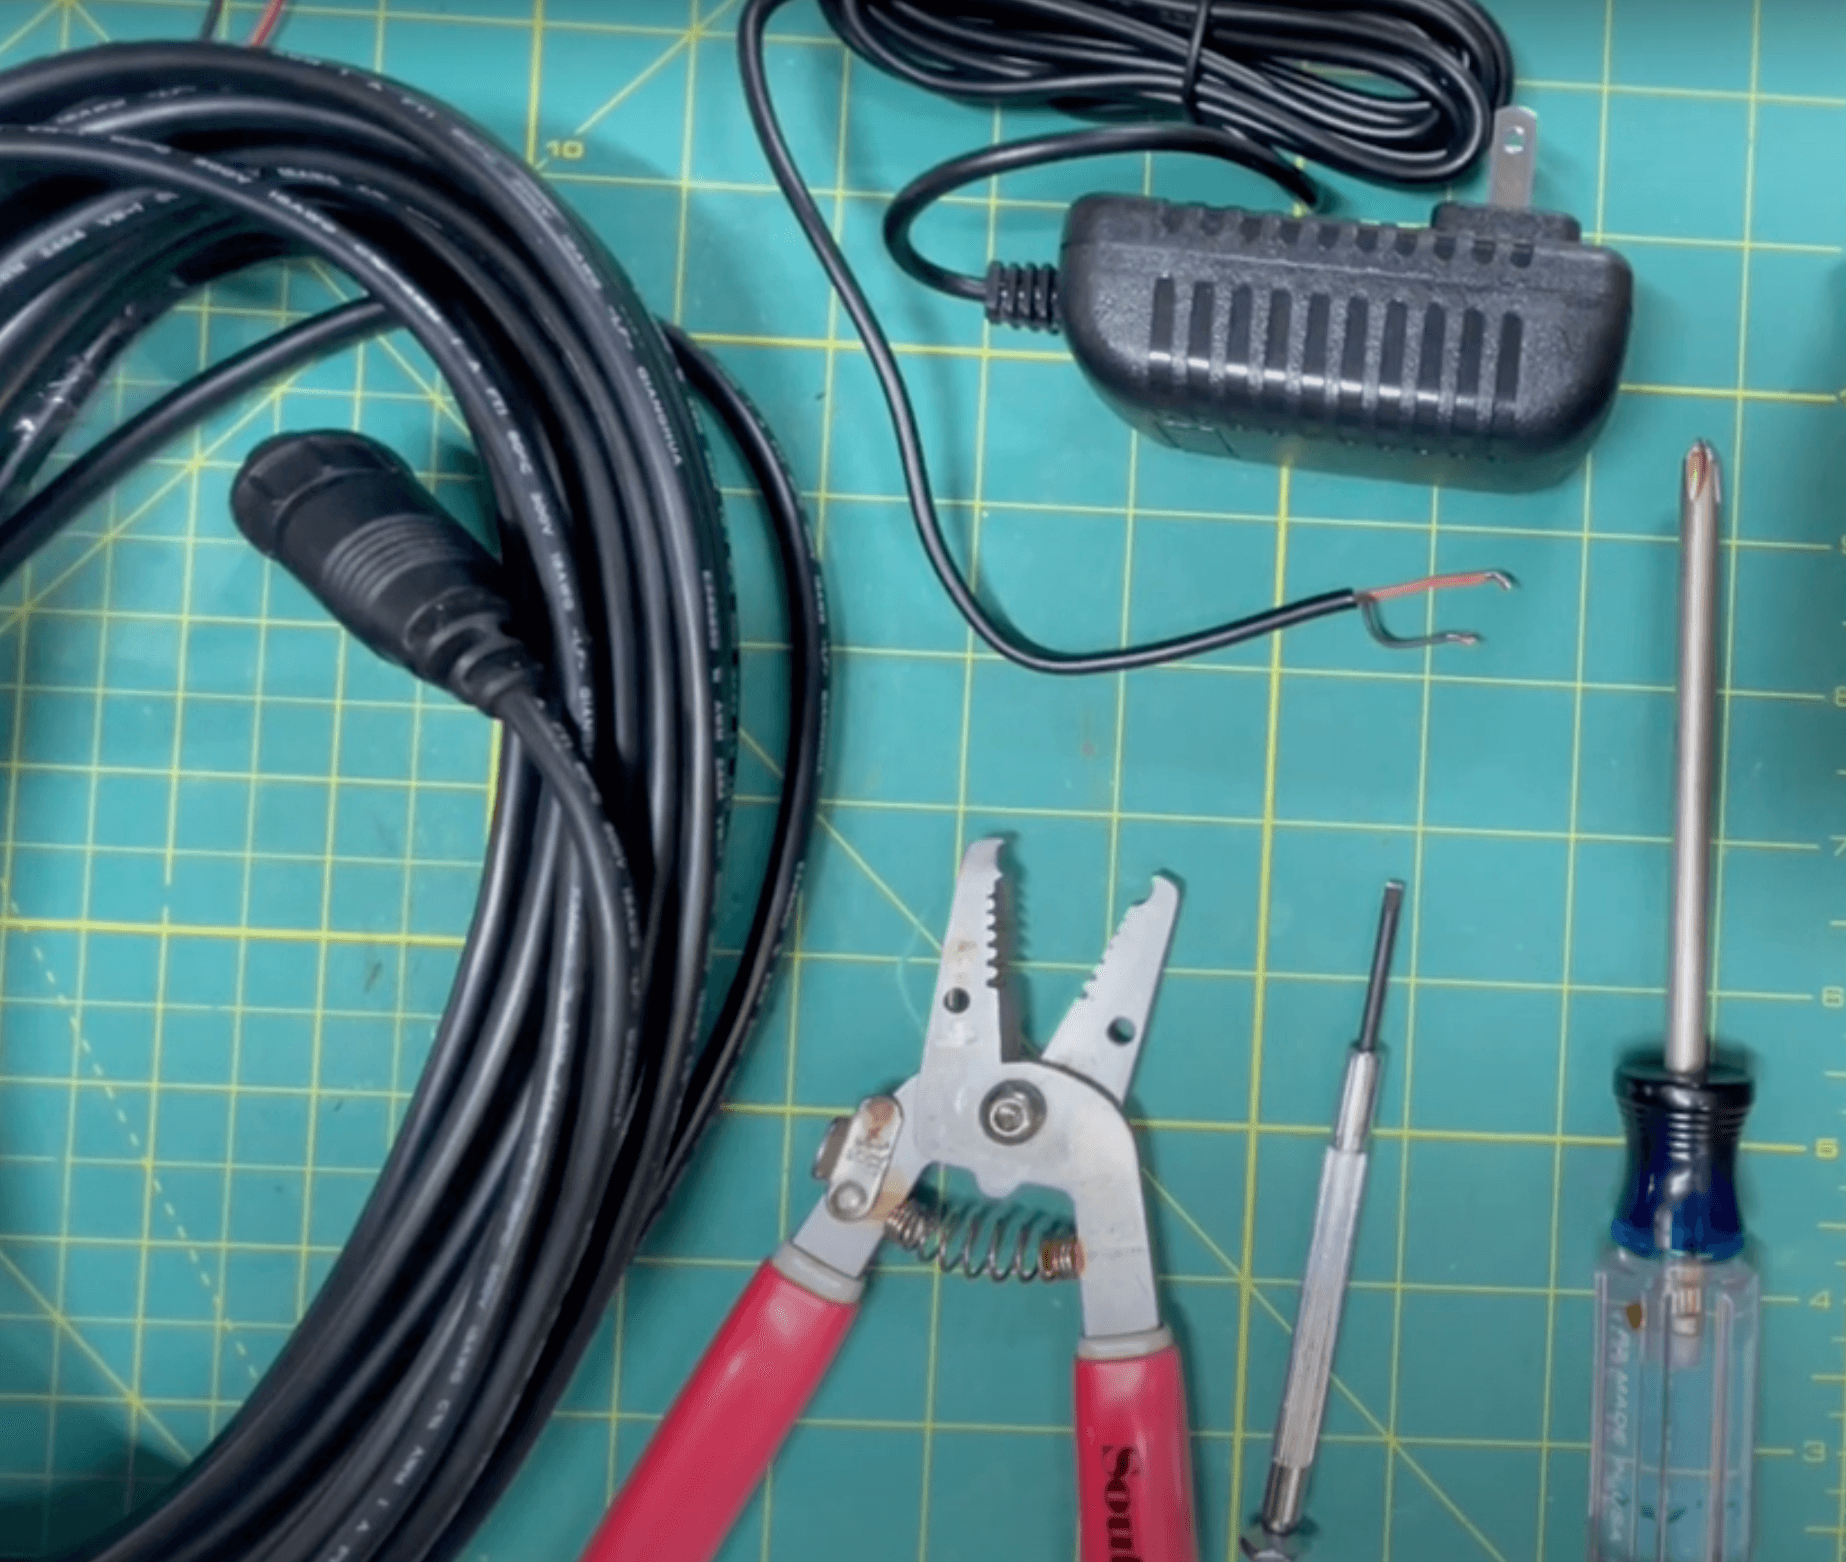
Tools needed
Gather every tool before opening the pump enclosure so wiring can be completed without interruption.
- Clyr Lite or Clyr Controller
- Clyr power supply (24VDC)
- Pentair WhisperFlo automation cable ( digital input kit with 9 conductors)
- Small flathead screwdriver
- Large Phillips screwdriver
- Wire strippers (to shorten the Pentair cable)
Step 1 - Connect your controller
Confirm the Clyr Controller is powered, online, and assigned to the correct property before working on the pump.
Follow the controller connection guide if the controller still needs setup.
Step 2 - Plug in Pentair WhisperFlo cable
Plug the WhisperFlo automation cable into the drive, then route the lead toward the Clyr Controller while referencing the wiring diagram below.
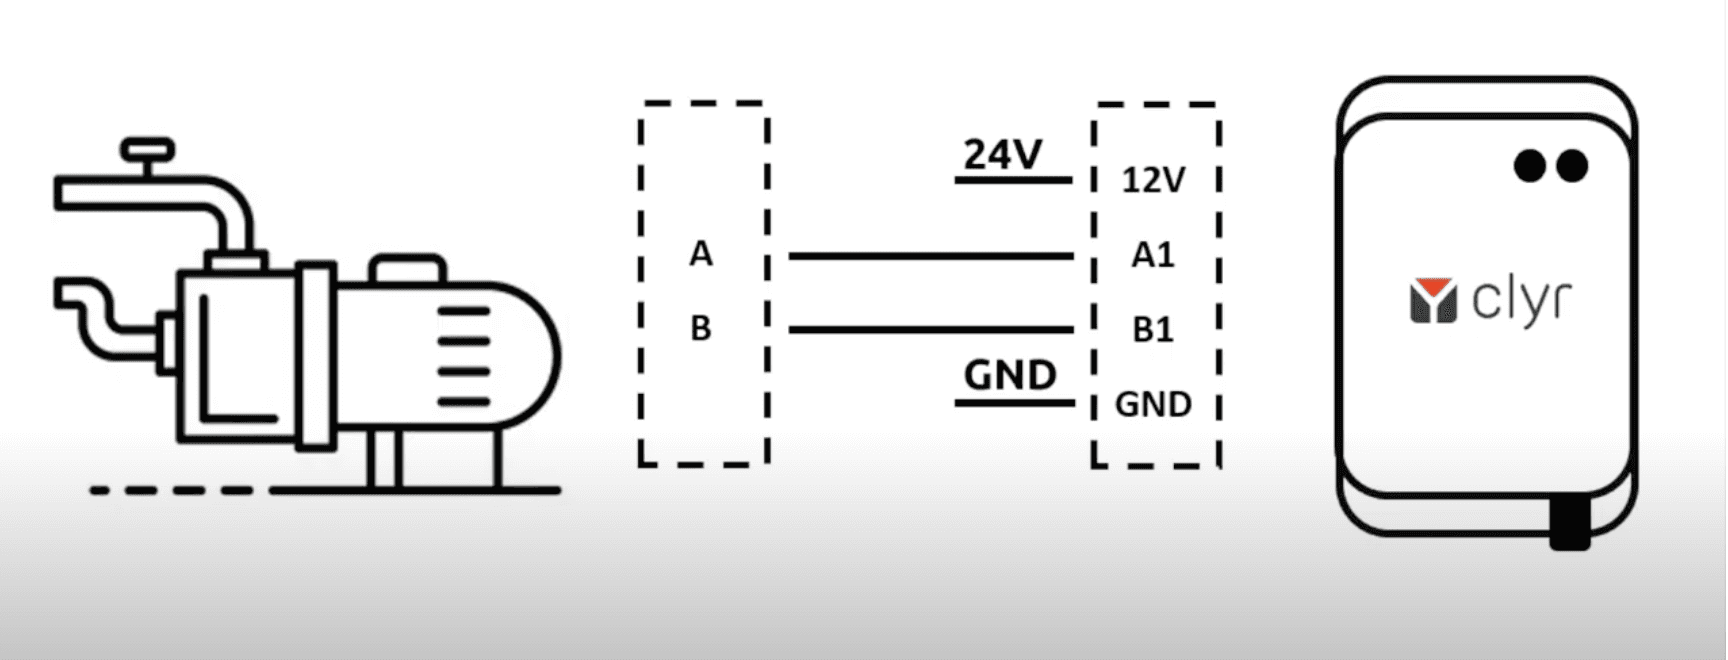
Pentair reverses the typical RS-485 color coding. Always land the yellow conductor on the A terminal and the green conductor on the B terminal.
- Yellow → RS485A
- Green → RS485B
Step 3 - Wiring Clyr Controller
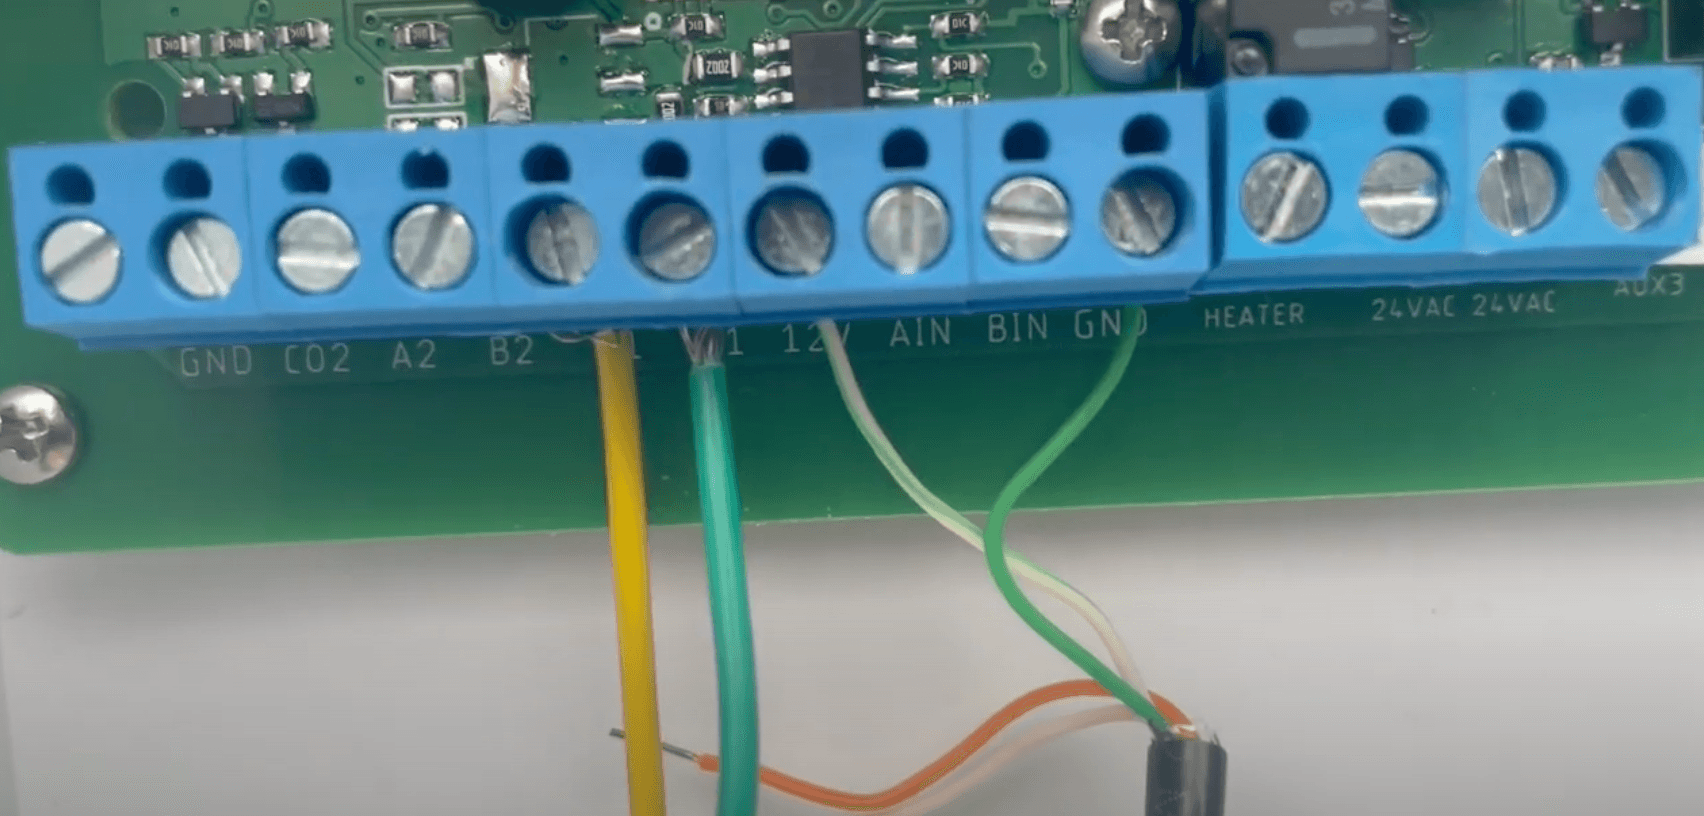
Land the other end of the automation cable on the first open RS-485 block. If the controller is unused, start with ports A1 and B1 for network 1.
What are networks? Review how Clyr RS-485 networks operate.
Match the color pairs exactly per the schematic, keeping yellow on an A port and green on a B port to avoid a polarity swap.
Step 4 - Configure WhisperFlo
You must complete this configuration before the WhisperFlo will talk to the Clyr Controller.
Program the WhisperFlo to emulate an Intelliflo using the Pentair drive menu. Follow the video walkthrough to set the correct protocol:
Configure the WhisperFlo for digital RS-485 control
Step 5 - Add pump in app
In the Clyr app open your location, navigate to Settings > Devices > Add > Pool Equipment, and choose Pump.
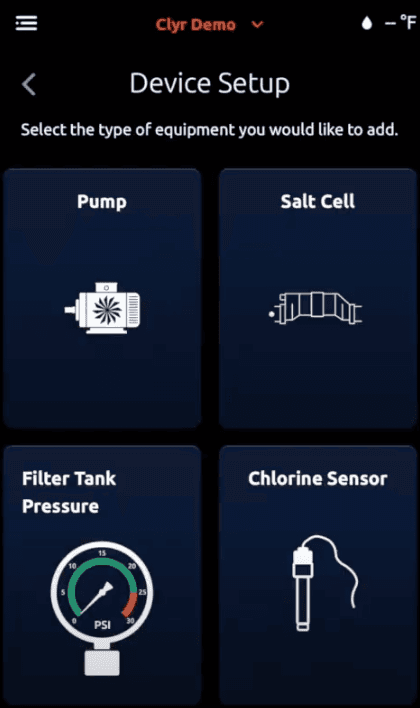
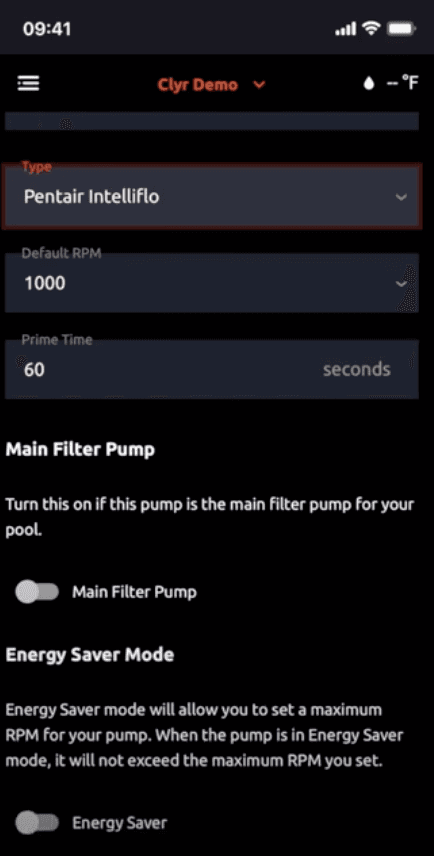
Pick a name, select Pentair Intelliflo as the model (the WhisperFlo emulates an Intelliflo), and adjust the default RPM or priming time. Mark the pump as the Main Filter Pump when appropriate.
Select the network that matches the terminals you used. Network 1 aligns with ports A1 and B1 on the controller.
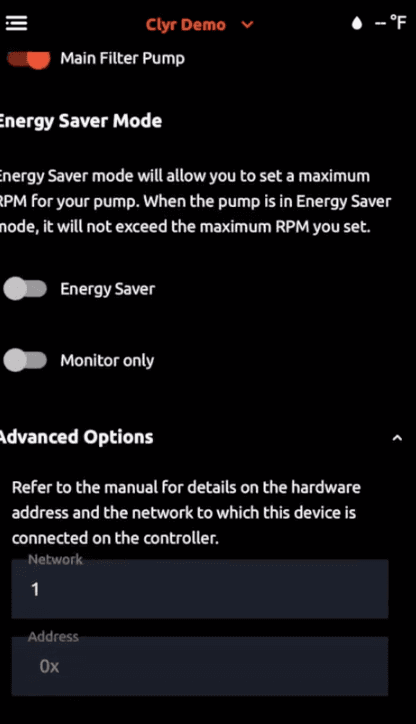
WhisperFlo pumps follow the same addressing scheme as Intelliflo pumps. If you change the Pentair pump address, map it to the correct Clyr value:
- Pump address 2 → Clyr address 0x61
- Pump address 3 → Clyr address 0x62
- Pump address 4 → Clyr address 0x63
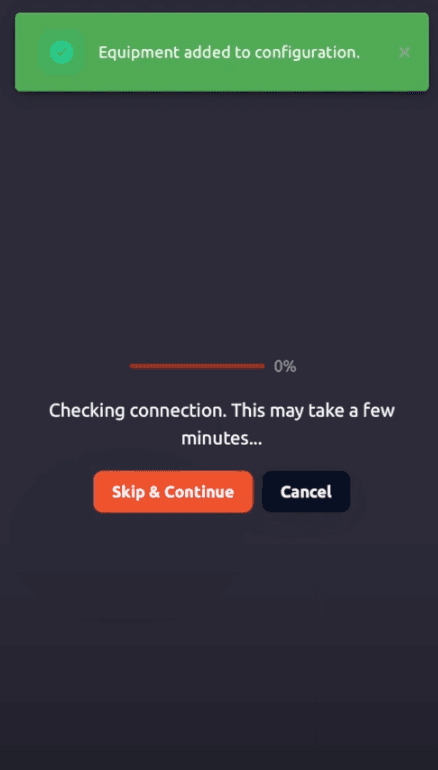
Advance through the remaining screens until the confirmation page appears.
Step 8 - Test the pump
Create a temporary schedule in the Clyr app to confirm the pump primes and reaches the expected RPM. You can wait for the controller to acknowledge communication or run the test immediately.
Review how to build schedules, programs, and autopilot routines if you need a refresher.
Next steps
With the WhisperFlo online you can automate circulation with schedules, programs, or autopilot logic in the Clyr app.
Troubleshooting
- The app shows an exclamation mark and reports no communication. Turn the breaker off for 60 seconds and power the pump back up to clear transient faults.
- The wiring diagram looks correct but communication still fails. Verify every conductor is on the correct terminal and the schematic above matches your layout.
- The wires feel loose inside the terminal block. Tighten each set screw and consider ferrules when landing multiple conductors in one port.
- You still cannot communicate with the pump. Reattach the Pentair drive panel or automation interface temporarily to confirm the pump is healthy, then try again with the Clyr Controller.